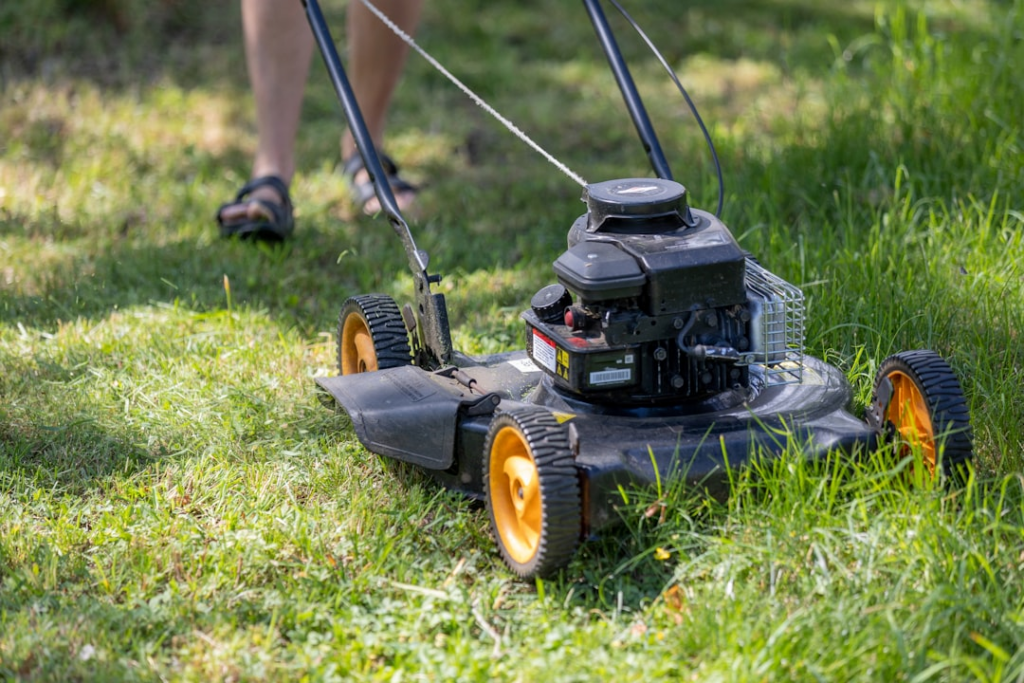
How To Repair Broken Garden Power Tools
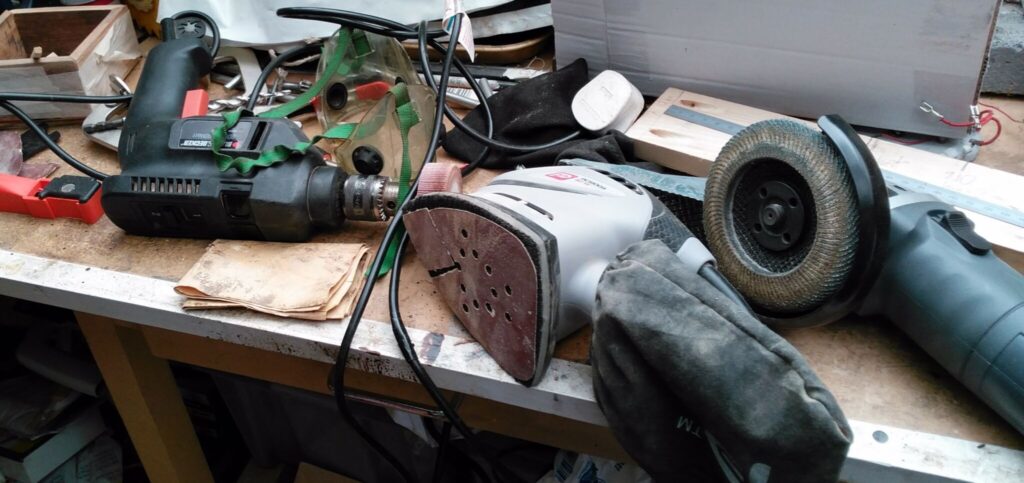
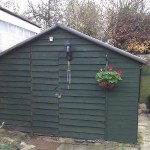
We’ve all been in that situation, the shed’s been collecting well used and loved garden tools that are in too good a condition to throw out but just not working as they used to. There’s a hedge trimmer that lost power mid-cut last summer, a corded strimmer that turns over once and dies, a lawn mower that smells faintly of warm electrics when you plug it in, and a 1990s Bosch hedge trimmer that’s been parked behind the workbench since the brushes wore down and Bosch stopped supplying the replacements. None of them are smashed. None of them are old enough to junk on principle. But how to tell which can be brought back, and which ones have earned the bin?
Most of these tools fail in one of three ways. The brushes wear down. The drive belt or cable’s gone. Or the switch has fried. Of those, brush wear is by far the most common. On universal-motor tools (which is most older garden gear), it’s the failure mode they’re designed to have, and the fix is the cheapest job on the bench.
How to tell the brushes are the cause
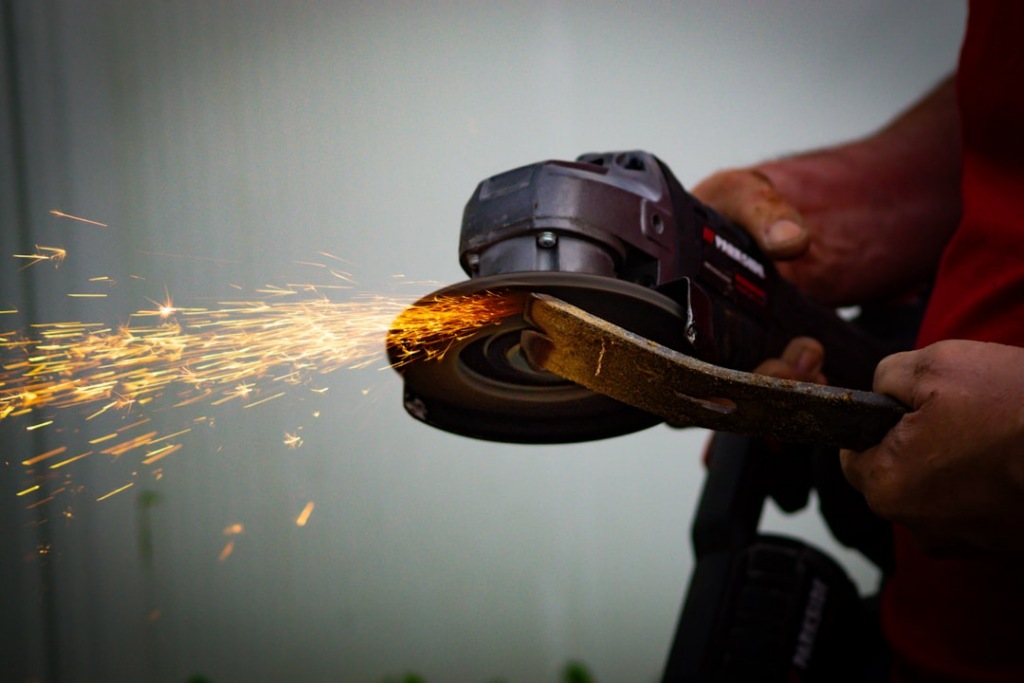
Worn brushes have a fairly distinct signature. The tool spins slowly under no load and stalls the moment you press it into work. It runs hot at the vent end of the housing. It throws visible sparks from the motor vent, especially as it slows. And there’s a sharp warm-electronics smell after a few minutes of use, not the acrid smell of something burning but the cleaner smell of hot copper and graphite.
A bit of background on why. Universal motors use small carbon blocks (the brushes) pressed against a rotating copper drum called the commutator. Every second they’re conducting current, they’re grinding themselves down by tiny fractions, transferring graphite into the air and leaving a thin layer on the commutator.
Over time the brush face gets shorter, the spring loses pressure, and the contact patch can no longer conduct properly. Researchers studying failed and non-failed DC motors found that brush failure most often comes from a thick, rough oxidised layer building up at the contact surface, which eventually breaks the conductive bond entirely (source). The sparking and the smell are that layer announcing itself.
Other failures look different. A blown capacitor on an induction-motor mower makes a sharp pop on power-up and may trip the RCD. A failed switch tends to be intermittent: works if you wiggle the trigger, dies if you don’t. A perished cable gives variable behaviour depending on how the cable is lying. If your symptoms don’t match worn brushes, skip ahead to – When the brushes aren’t the problem.
Replacing the brushes
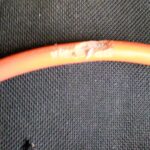
Brush replacement is typically a screwdriver job. Take the back cover off, find the brush caps (usually two of them, set opposite each other on the motor housing), unscrew or unclip the caps, and slide the old brushes out. They sit in a metal slot with a small spring behind them. Measure the worn ones: length, width, depth, all in millimetres. A new brush is typically 20 to 30mm long; if yours measure 5mm or less and the contact face is uneven or blackened, that’s your problem.
The bit that catches people out is sourcing the right replacement. The brush has to match the slot dimensions exactly, or the spring won’t seat properly and the new one will start arcing just like the old one. It is easy to make a mistake when trying to source a cheap matched-pair from a generic listing on a popular auction site and the quality can be questionable. Match by tool model number where you can, or by dimensions in millimetres where the name plate’s worn smooth.
For anything mainstream (Bosch, Makita, Hitachi, Black & Decker, Erbauer, Titan, that sort of bracket) TDO’s Carbon Brush range is your best bet. They list brushes by tool brand and model number, and they have a search-by-size option for the orphaned generic stuff where the tool’s badge has worn off but you’ve still got the old brushes to measure. They also still make brushes to fit obsolete tools on request: send a photo of your old brush and the tool’s brand and they spec a fresh set. That’s the only reason the 1990s Bosch hedge trimmer in the bottom of the garden is back in service.
When the brushes aren’t the problem
If the brushes look fine (long, even contact face, no scorching) and the tool still won’t run properly, work through the other failure modes in this order.
The cable. Look at where the cable enters the tool. Cord grips fail by pulling the inner cores away from the strain relief. Run the cable through your fingers from the plug end to the tool end and feel for kinks, nicks, or sudden hard spots. If the tool runs intermittently depending on how the cable is sitting, that’s where to start. Cables stored in the shed or garage for a long time can also be chewed by mice and should be replaced.
The trigger switch. Garden-tool triggers fail from grit and damp ingress. They’re usually a replaceable part. Test by unscrewing the housing, finding the switch, and using a multimeter on continuity across the contacts while you press and release the trigger. A clean make-and-break each time means the switch is fine.
The drive belt (on belt-driven mowers and some strimmers). Slipping, glazing, or visible cracking on the belt face. Replacement belts are usually stocked alongside the brushes by the same suppliers, and the swap is one or two screws plus a bit of patience aligning the pulleys.
The capacitor (on older induction-motor mowers). These can hold charge for a while after the plug’s been pulled, so don’t poke at them with a bare screwdriver. If you suspect a failed capacitor, discharge it through a resistor before unwiring it, then test with a multimeter on the capacitance setting before ordering a replacement.
When to call it on the tool
Some failures are terminal. A burnt-out motor (visible scorching on the windings, the acrid smell of varnish breakdown that’s nothing like the cleaner smell of worn brushes) is rarely worth rebuilding on a consumer-grade tool. A lithium battery pack that won’t take a charge after a deep discharge is usually finished. And if you’ve replaced the brushes, the switch, and the cable and the tool still won’t behave, you’re chasing diminishing returns. Walk away.
The wider economics of this kind of repair have shifted in the home repairer’s favour, though. UK research on the impact of the new Right to Repair rules projects measurable reductions in electrical-equipment waste once spare parts become reliably available to consumers (source). For garden tools that means more brushes, more switches, more belts. Fewer plastic-shrouded motors taken down the dump because the catalogue couldn’t supply a £5 part.
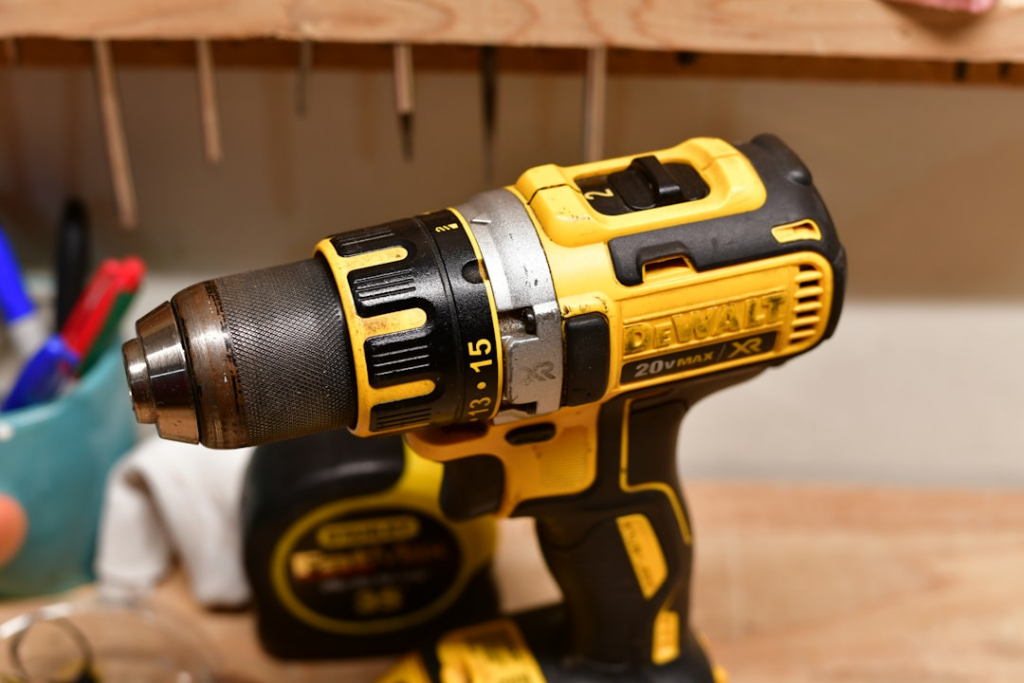
So what’s going to be your first repair? That old black and decker drill or the grinder you bought from the middle aisle a few summers back?
Tiling a shed roof

Roof pitch, life expectancy and price all factored into the selection of the right tiles. Ease of installation was a bonus.
![]() Posted in: Workshopshed4
Tags: roof, tiles
Posted in: Workshopshed4
Tags: roof, tiles
Roof works

Earlier in the month when I had my strong helper, I commented that it was more important to get the boards on the roof than it was it get it perfect.
![]() Posted in: Workshopshed4
Tags: membrane, roof, tiles
Posted in: Workshopshed4
Tags: membrane, roof, tiles
Posts, Beams and Trusses
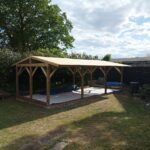
Progress on the new Workshopshed with posts, beams and roof trusses.
![]() Posted in: Workshopshed4
Posted in: Workshopshed4
Footings and framing
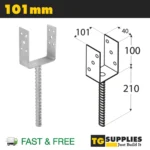
Although some timber-framed buildings simply rest on their foundations, I wanted mine to be fixed down. We do get some very high winds around here and we’ve already lost a small greenhouse and I also don’t want the weather driving
![]() Posted in: Workshopshed4
Tags: scarf joint, wood framing
Posted in: Workshopshed4
Tags: scarf joint, wood framing
Workshopshed 4

Time for a new Workshopshed, a wooden workshop in the style of a Suffolk barn.
![]() Posted in: Workshopshed4
Tags: Workshop
Posted in: Workshopshed4
Tags: Workshop
He He Helium

One of the things that’s come out of the blockade of the Strait of Hormuz is that it is causing a helium shortage.
![]() Posted in: Inspiration
Tags: APR1
Posted in: Inspiration
Tags: APR1
St Mungo’s Mini Builds

Those who follow along on social media will know that I’m a big fan of Lego. I was also aware of the work done by St Mungo’s to help homelessness in London and beyond, but as I was already supporting
Next Page »


 Metal sculpture in brass, mounted on an 1800s French Coin